Easiest and free way to add login service to any project.
Step 1A: Signup at logify.id
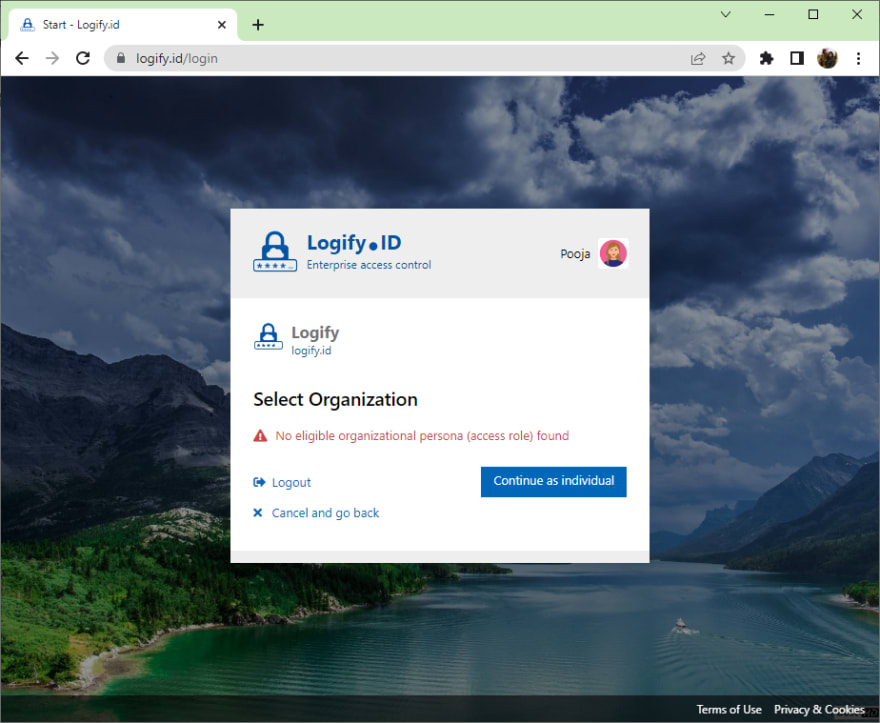
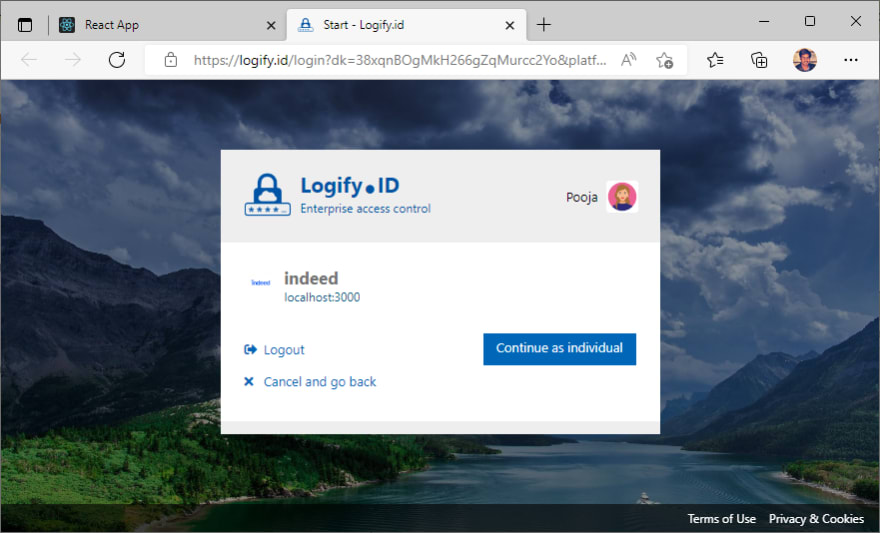
After sign in, you will get this screen, click on Continue as individual
Step 1B: Register your organization
Click on the Work tab at the top right corner.
Click Create New Organization from left navigation bar
Note: if you are not an organization, you can register with your project name.

Fill the organization details. Lets take an example of indeed where users go to search for jobs. Here indeed’s designated employee will register the organization.


Step 1C: Register your domain
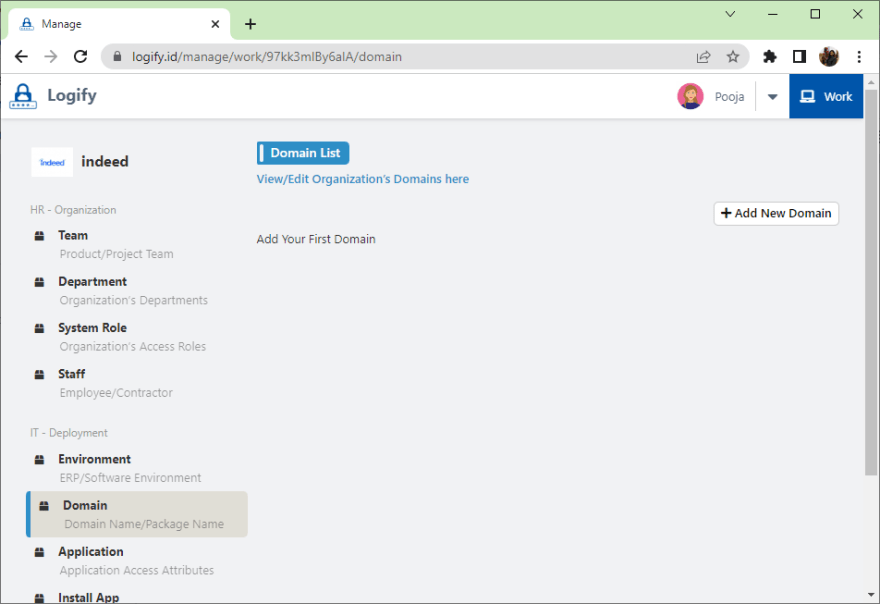
Click on organization name (i.e. indeed) on top left corner.

Click on Domain on left navigation bar
Click on Add new Domain which is at top right side.
Fill the form and create a Domain.

After domain creation, View Domain button will appear at top right corner. Click on that button to get the domain key.


Step 2: Setup React Project
Create new folder with name react-logify-basic
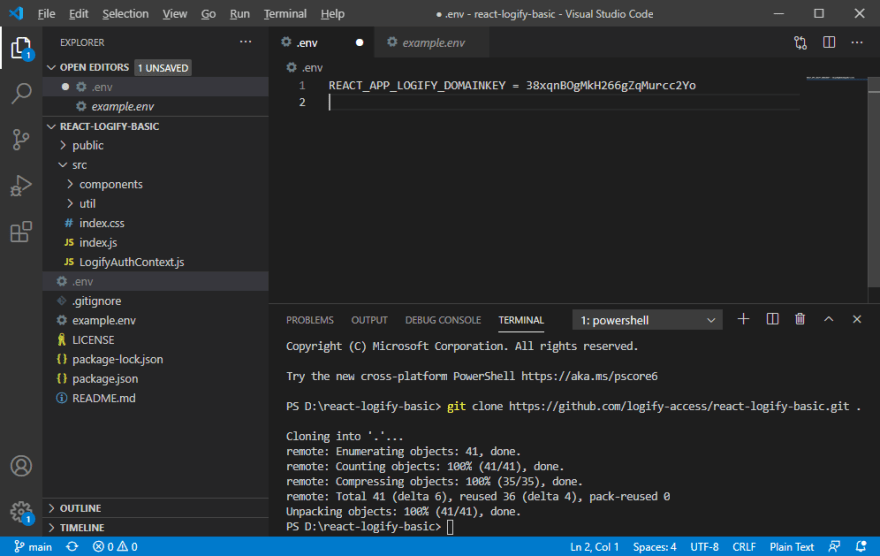
Open react-logify-basic in visual studio code
Run git clone https://github.com/logify-access/react-logify-basic.git . in terminal to clone the repository. Github Repo
Install all dependencies with npm i

Create .env file
Paste REACT_APP_LOGIFY_DOMAINKEY = YOUR_DOMAIN_KEY
Step 3: Run the Project
Start your project with npm start
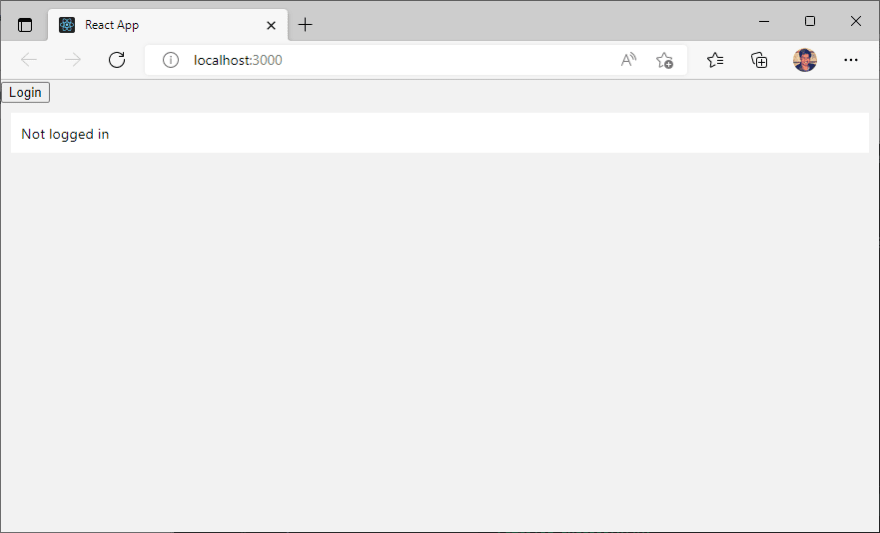
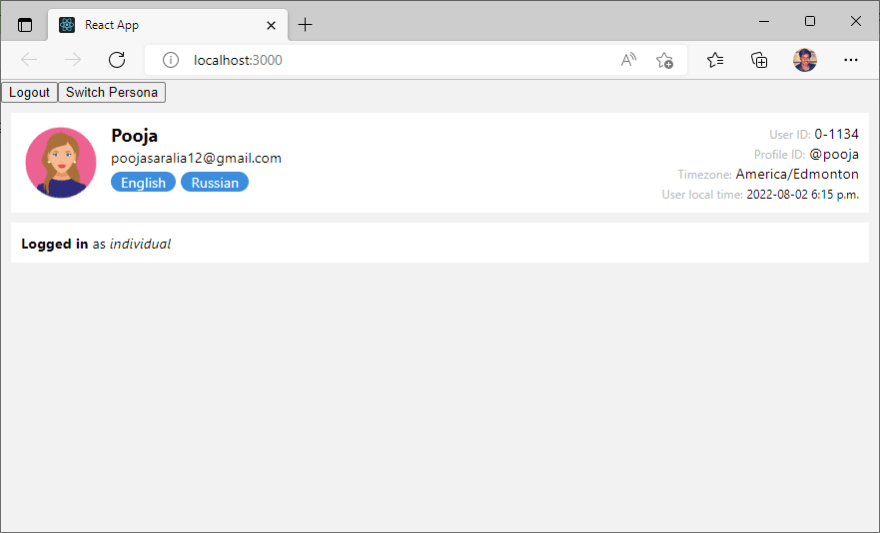
If I click on the login button, I can see login screen
After login, I can see my details.