Hello and welcome back to the part 2 of this series, in the previous article, I showed you how to setup and configure elasticsearch on your PC, in case you missed it, no worries, check it out here.
In this article, I will be walking you through how to setup and connect to elasticsearch through Kibana and NestJs application to create a backend server.
Hold up, what is Kibana?
Kibana is a source-available data visualization dashboard software for Elasticsearch, whose free and open source successor in OpenSearch is OpenSearch Dashboards. Read more
How does Kibana help us in this case you may ask?
Kibana is a great visualization tool that helps us with our elasticsearch queries and manipulation. It is part of B.E.L.K (Beats, Elasticsearch, Logstash and Kibana) stack. In case you don’t know much about it, follow along and you will be just fine! (A separate article on Kibana can be written as an addendum to this series if you want, let me know in the comment section!)
Setting up and Configuring Kibana
In order to download Kibana, goto Kibana Download Page, click on the download button.
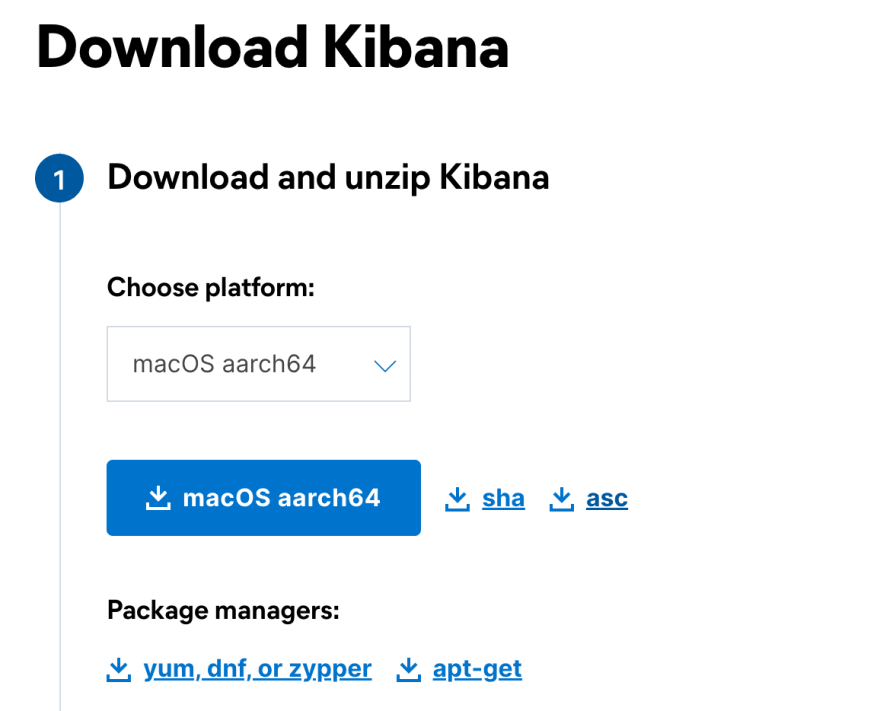
After downloading, extract the zip file using this command
$ tar -xzvf kibana-8.4.1-darwin-aarch64.tar.gz
$ cd kibana-8.4.1
There are two ways to configure and connect Kibana to elasticsearch, one way is to manually input the required keys into kibana.yml (in config/kibana.yml) or run Kibana and configure on the UI. I’m choosing the latter 😉!
Run kibana using this command:
bin/kibana
When starting Kibana for the first time, you will be presented with this screen
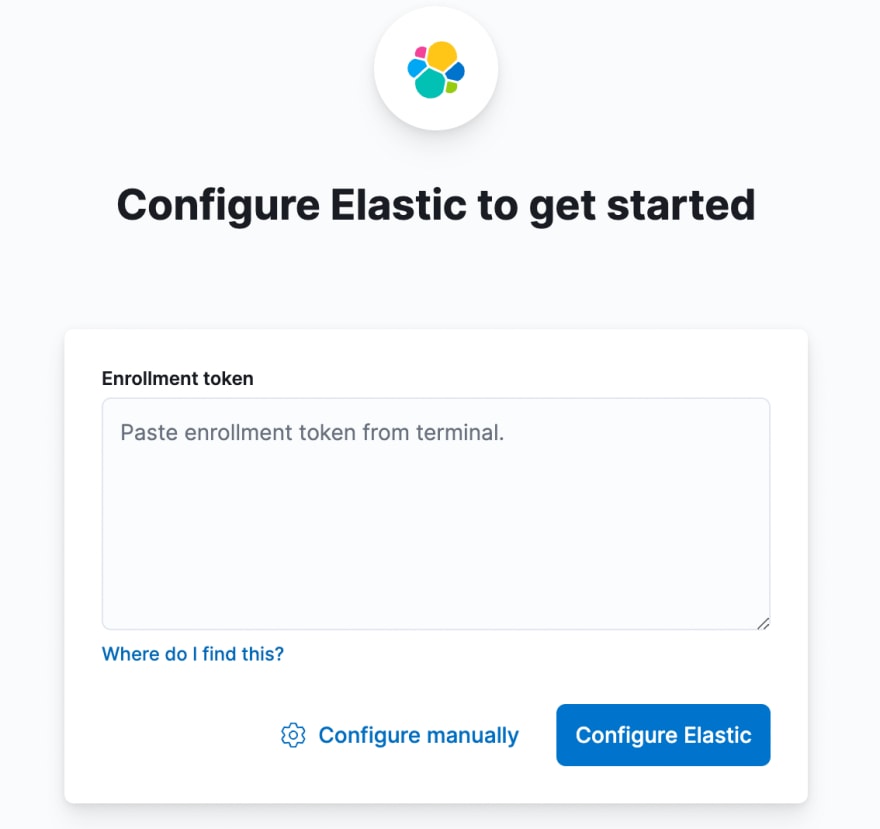
There are two ways to tackle this;
- Use the elastic enrollment token (usually generated on your terminal when starting elastic for the first time) see below;
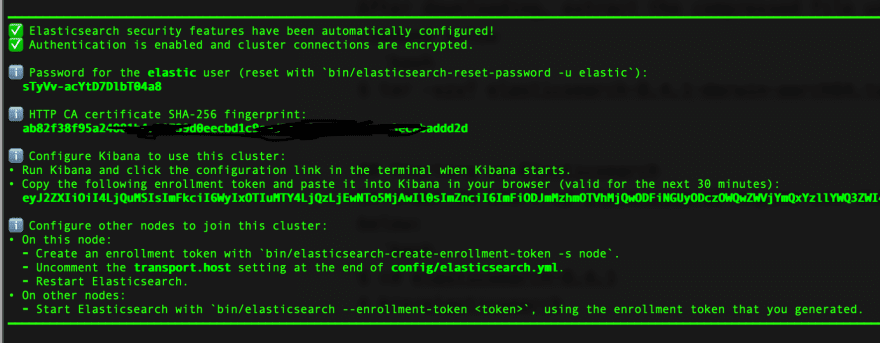
Copy and paste the enrollment token above to Kibana and click Configure Elastic. You will be fine
- Manually configure Kibana with elastic using the elastic URL. Click on check address and click
Configure elastic.
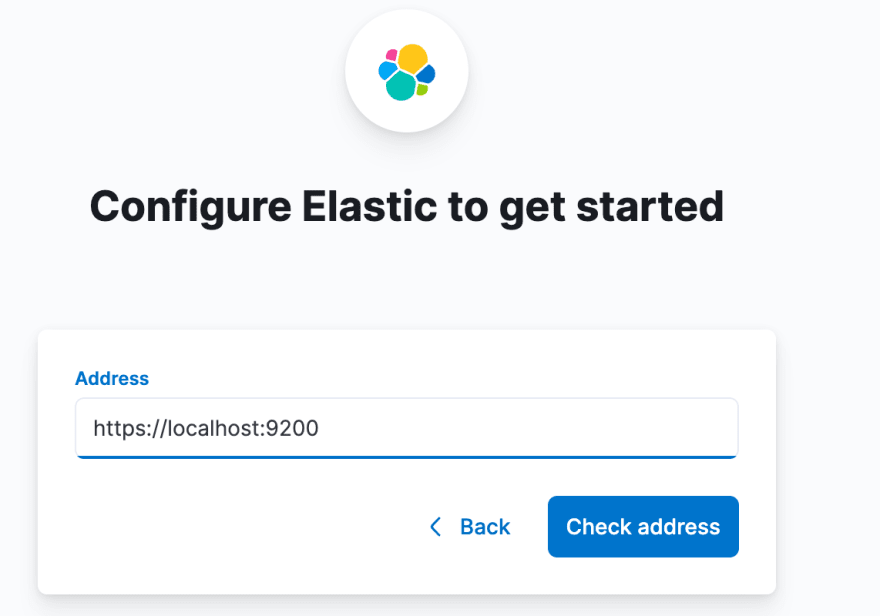
Enter kibana_system password generated. Or click forgot password (if you can not recall the password), paste the command below to your terminal to reset the password.
bin/elasticsearch-reset-password --username kibana_system
You will be asked to enter a verification code, check your terminal (where you are running kibana to retrieve it)
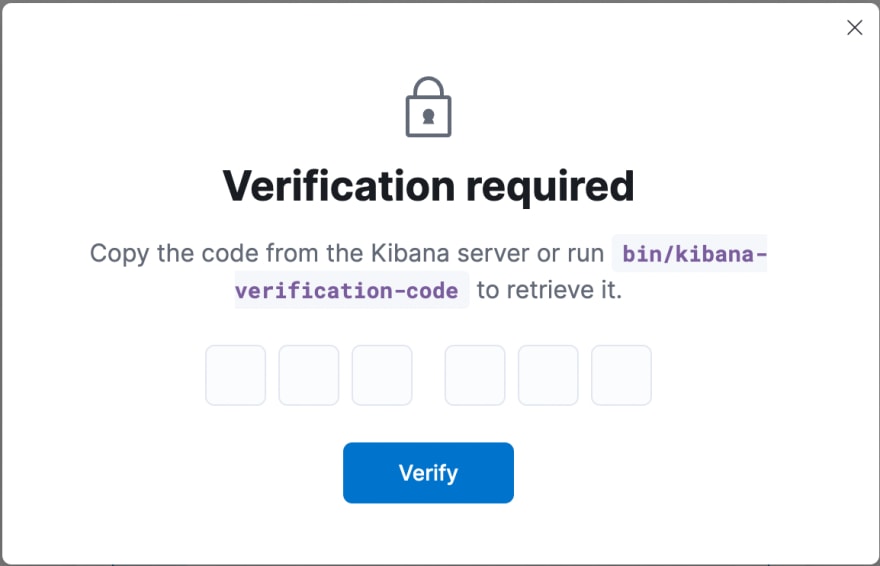
That’s it! You are all set up.
Enter your elastic username and password to login to kibana and you are in!
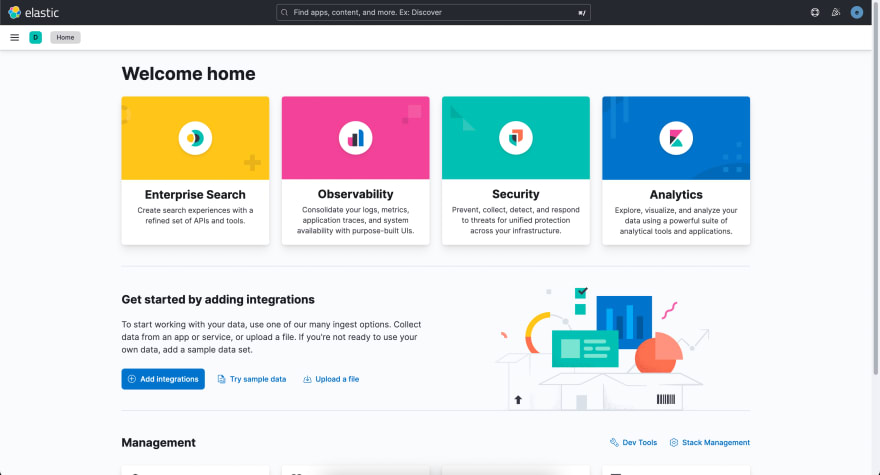
Querying elastic using Kibana
Let’s run a sample query to test our connection, shall we?
- Click on the hamburger (three lines on the top left corner of your screen)
- Scroll down to the bottom of the page
- Click on
Dev tools
You should see something like this:
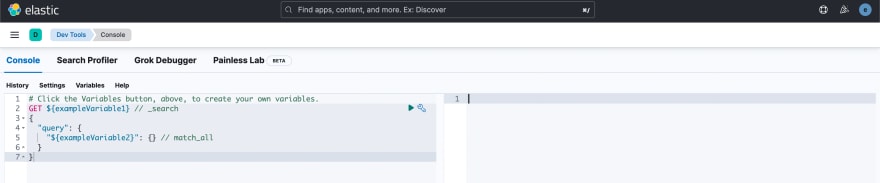
On the left pane is where queries are written, the right pane is where the outputs are presented.
Ensure you click on any part of the query and select the play button.
The output of the query will be presented on the right pane.
Summary
In this article, we are able to connect successfully to elasticsearch and run sample queries using Kibana.
In the next article, I will show you how to Import data to elastic using Kibana and walk you through how to use the imported data in your NestJS application.