Link is Stripe’s one-click checkout product that allows customers to securely store their payment information so they can be auto-filled for future purchases across any Stripe merchants with Link enabled. This feature can be used with Payment Element, Checkout, Hosted Invoice Page and the Payment Request Button without having to update any code.
This feature turns the checkout process into a faster and frictionless experience, so your customers can check out in just a few seconds. It works by sending a 6 digit code by SMS to verify a customer’s identity. If they use a device that is already verified, Stripe will automatically use their saved information to auto-fill the checkout form so they can pay with a single click. This solution allows anyone to increase their conversion rate without the need for expert business or marketing knowledge. Here’s how you can enable it.
Link settings
By default, Link is enabled for the Payment Request Button, Card element, Checkout and Hosted Invoice Page. You can view and manage these settings on the Link settings page.
When enabled, an optional field appears on the Checkout form.
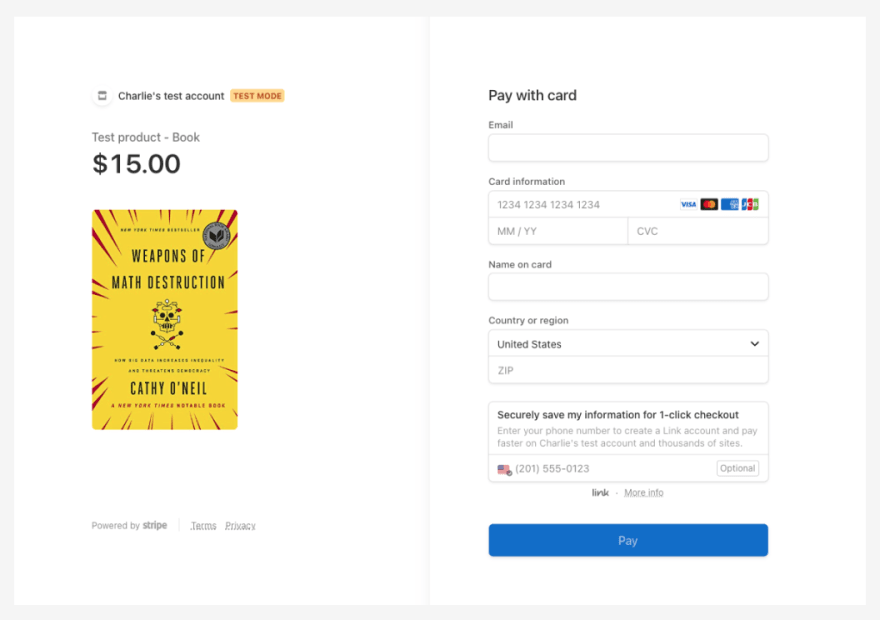
If a customer enters their phone number, when clicking on the “Pay” button, they will be prompted to enter a code sent by SMS to verify their identity and be remembered on the device they used for the purchase.
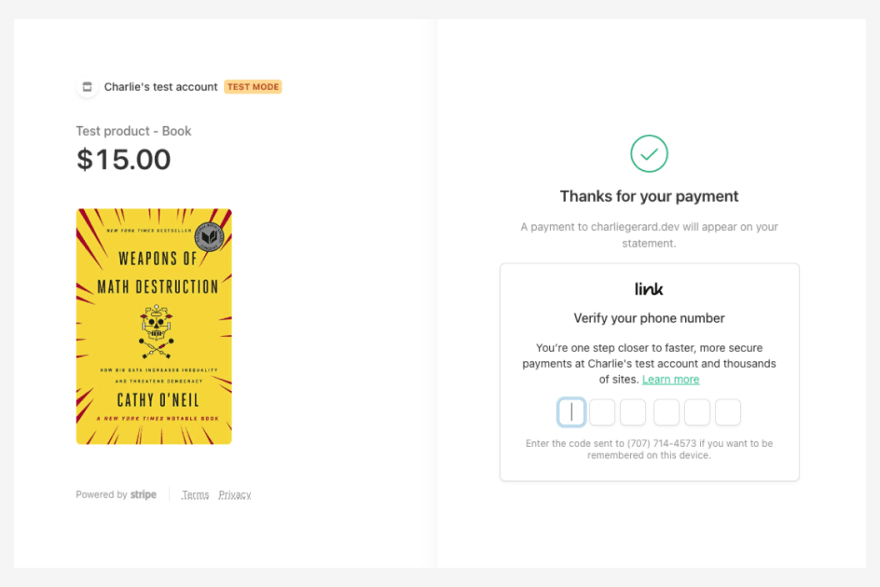
If they don’t verify their phone number after the initial purchase, they will be prompted to do so next time they enter their email address in the checkout form. In test mode, you can use 111111.
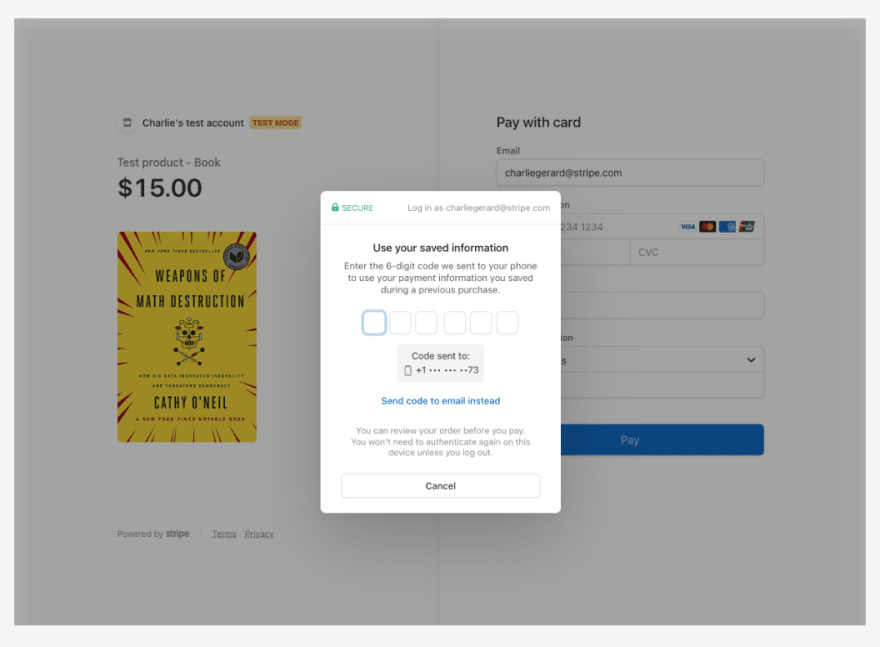
After verification, the details are auto-filled and from now on, the customer will be able to go through the checkout process in one click, on all Stripe merchants with Link enabled!
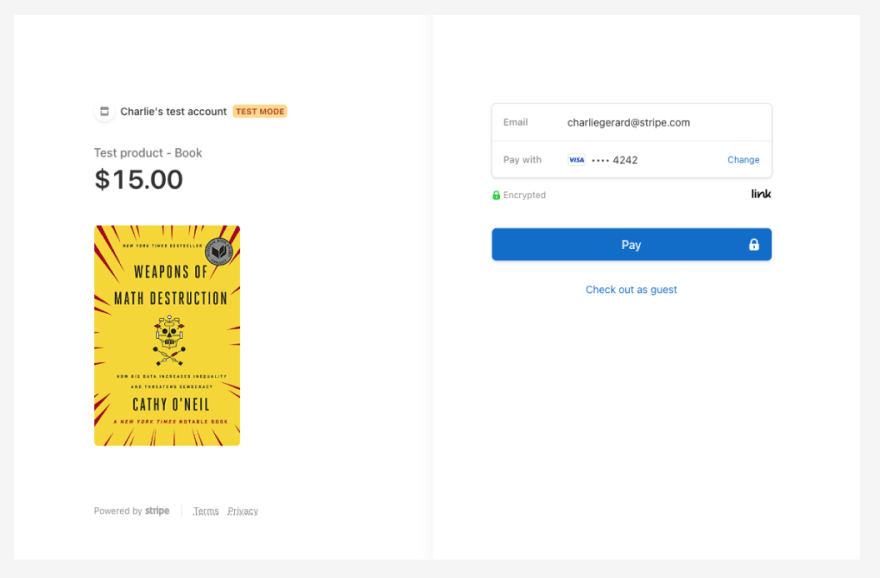
Customers can also decide to check out as a guest if they do not want to use the saved payment information.
If they decide to log out of Link, they will be prompted to enter a code again.
Payment method settings
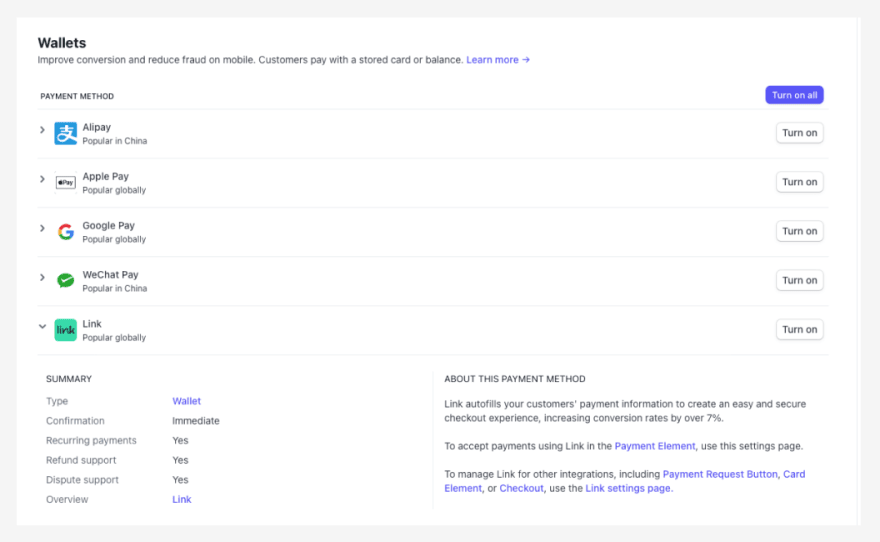
To enable Link for Payment Element integrations, navigate to the Payment method settings page where you can manage all payment methods available.
Under the “Wallets” section, find “Link” and click the “Turn on” button.
When activated, Link will now appear in your Checkout forms that use Payment Element.
The rest of the flow is the same as the one detailed above. The customer will be prompted to enter their email address and a code will be sent by SMS to the phone number they registered with if they already have saved their information with Link. In test mode, you can also use the code 111111.

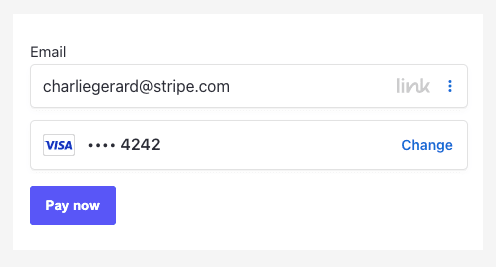
Customers can decide to log out of Link if they do not want to auto-fill their details.

Let us know if you’re implementing this, and stay up to date with Stripe developer updates on the following platforms:
📣 Follow @StripeDev and our team on Twitter
📺 Subscribe to our Youtube channel
💬 Join the official Discord server
📧 Sign up for the Dev Digest
About the author

Charlie Gerard is a Developer Advocate at Stripe, a published author and a creative technologist. She loves researching and experimenting with technologies. When she’s not coding, she enjoys spending time outdoors, reading and setting herself random challenges.