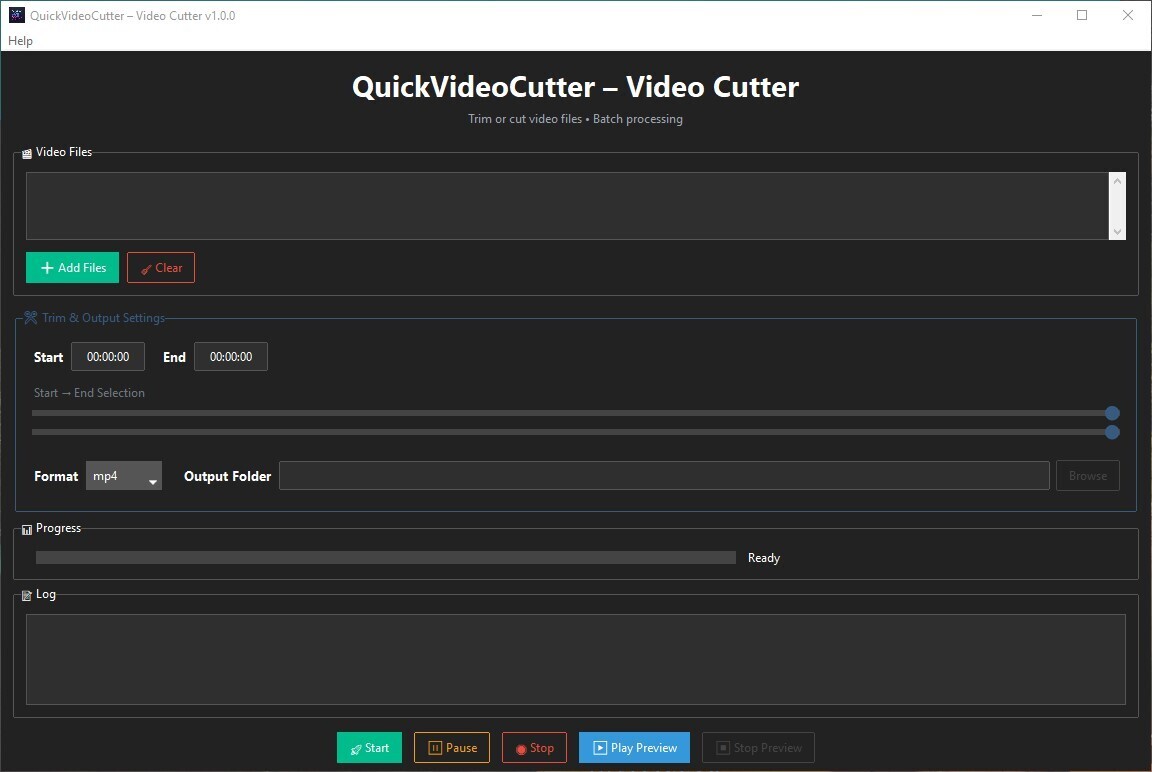
In this beginner-friendly tutorial, we’ll build QuickVideoCutter, a professional Windows desktop app that trims videos in batch using Python + Tkinter + FFmpeg.
You’ll learn:
- How to build a modern Tkinter UI
- How to run FFmpeg from Python
- How to trim videos using start/end time
- How to use threading (so the UI doesn’t freeze)
- How to implement drag & drop
- How to add preview playback
- How to safely handle errors
🟢 Option 1: Download Ready-to-Use EXE
If you don’t want to build from source:
Download the latest Windows executable here:
https://github.com/rogers-cyber/QuickVideoCutter/releases
No Python required.
🟢 Option 2: Clone the Repository
git clone https://github.com/rogers-cyber/QuickVideoCutter.git
cd QuickVideoCutter

Install dependencies:

pip install ttkbootstrap tkinterdnd2

Make sure FFmpeg is installed:
https://ffmpeg.org/download.html

🧱 Step 1 — Import Required Libraries

We import:

tkinter → GUI

ttkbootstrap → modern styling

tkinterdnd2 → drag & drop

subprocess → run FFmpeg

threading → background processing

queue → thread-safe UI updates
import os
import sys
import threading
import time
import traceback
from queue import Queue, Empty
from tkinter import filedialog, messagebox
import ttkbootstrap as tb
import tkinter as tk
from tkinterdnd2 import DND_FILES, TkinterDnD
import subprocess
⚙ Step 2 — Basic Configuration

We define:

App name

Version

FFmpeg path

Supported formats
CREATE_NO_WINDOW = 0x08000000
APP_NAME = “QuickVideoCutter – Video Cutter”
APP_VERSION = “1.0.0”
FFMPEG_PATH = r”C:ffmpegbinffmpeg.exe”
FFPLAY_PATH = r”C:ffmpegbinffplay.exe”
SUPPORTED_FORMATS = ["mp4", "mov", "avi", "mkv", "flv", "webm"]
🖥 Step 3 — Create the Main Window

We use TkinterDnD to enable drag & drop.
app = TkinterDnD.Tk()
app.title(f”{APP_NAME} v{APP_VERSION}”)
app.geometry(“1150×740”)
tb.Style(“darkly”)
🧠 Step 4 — App State Variables

These keep track of:

Selected videos

UI updates

Processing state

Trim range
video_list = [] ui_queue = Queue()
stop_flag = False
pause_flag = False
preview_process = None
video_duration = tb.IntVar(value=0)
start_sec = tb.DoubleVar(value=0)
end_sec = tb.DoubleVar(value=0)
🛠 Step 5 — Utility Functions
Error Logging
def log_error():
with open(“error.log”, “a”, encoding=”utf-8″) as f:
f.write(traceback.format_exc() + “n”)
Check FFmpeg Exists
def ffmpeg_exists():
return os.path.isfile(FFMPEG_PATH)
⏱ Step 6 — Time Conversion Helpers

We convert between:

HH:MM:SS → seconds

seconds → HH:MM:SS
def hhmmss_to_seconds(value: str) -> float:
try:
parts = value.split(“:”)
parts = [float(p) for p in parts]
if len(parts) == 3:
h, m, s = parts
return h * 3600 + m * 60 + s
elif len(parts) == 2:
m, s = parts
return m * 60 + s
return parts[0]
except Exception:
return 0.0
def seconds_to_hhmmss(seconds: float) -> str:
seconds = max(0, int(seconds))
h = seconds // 3600
m = (seconds % 3600) // 60
s = seconds % 60
return f”{h:02}:{m:02}:{s:02}”
🎥 Step 7 — Get Video Duration (Using FFmpeg)

We read FFmpeg stderr output and extract duration.
def get_video_duration(file_path):
try:
cmd = [FFMPEG_PATH, “-i”, file_path, “-hide_banner”]
proc = subprocess.Popen(
cmd,
stderr=subprocess.PIPE,
stdout=subprocess.DEVNULL,
text=True,
creationflags=CREATE_NO_WINDOW
)
for line in proc.stderr:
if “Duration:” in line:
dur = line.split(“Duration:”)[1].split(“,”)[0].strip()
h, m, s = dur.split(“:”)
return int(float(h) * 3600 + float(m) * 60 + float(s))
except Exception:
log_error()
return 0
📂 Step 8 — Add & Display Video Files
def add_video():
files = filedialog.askopenfilenames(
filetypes=[(“Video Files”, “*.mp4 *.mov *.avi *.mkv *.flv *.webm”)]
)
for f in files:
if f not in video_list:
video_list.append(f)
ui_queue.put((“add”, f))
✂ Step 9 — Core Video Trimming Logic

This is where FFmpeg does the trimming.

We:

Validate start/end time

Loop through videos

Run FFmpeg

Update progress
def process_video():
global stop_flag, pause_flag
stop_flag = pause_flag = False
if not ffmpeg_exists():
    messagebox.showerror("Error", "FFmpeg not found.")
    return

if not video_list:
    messagebox.showerror("Error", "No video files selected.")
    return

start_sec_val = hhmmss_to_seconds(start_time_var.get())
end_sec_val = hhmmss_to_seconds(end_time_var.get())

if start_sec_val >= end_sec_val:
    messagebox.showerror("Error", "Invalid trim range.")
    return

out_dir = output_dir.get() or os.path.dirname(video_list[0])
total = len(video_list)

for idx, video in enumerate(video_list):
    if stop_flag:
        break

    while pause_flag:
        time.sleep(0.1)

    base = os.path.splitext(os.path.basename(video))[0]
    out_file = os.path.join(out_dir, f"{base}_trim.{output_format.get()}")

    cmd = [
        FFMPEG_PATH,
        "-y",
        "-ss", str(start_sec_val),
        "-to", str(end_sec_val),
        "-i", video,
        out_file
    ]

    try:
        process = subprocess.Popen(
            cmd,
            stdout=subprocess.PIPE,
            stderr=subprocess.DEVNULL,
            creationflags=CREATE_NO_WINDOW
        )
        process.wait()

        percent = int((idx + 1) / total * 100)
        ui_queue.put(("progress", percent))

    except Exception:
        log_error()

ui_queue.put(("complete", "All videos processed"))
🎞 Step 10 — Preview with FFplay
def play_preview():
global preview_process
video = listbox.get(listbox.curselection()[0])

start_sec_val = hhmmss_to_seconds(start_time_var.get())
end_sec_val = hhmmss_to_seconds(end_time_var.get())

cmd = [
    FFPLAY_PATH,
    "-autoexit",
    "-ss", str(start_sec_val),
    "-t", str(end_sec_val - start_sec_val),
    video
]

def run_preview():
    global preview_process
    preview_process = subprocess.Popen(cmd, creationflags=CREATE_NO_WINDOW)
    preview_process.wait()

threading.Thread(target=run_preview, daemon=True).start()
🧵 Step 11 — Keep UI Responsive with Threading
def start():
threading.Thread(target=process_video, daemon=True).start()
This ensures:

✅ UI doesn’t freeze
✅ Background processing works smoothly

🖱 Step 12 — Enable Drag & Drop
def drop(event):
files = app.tk.splitlist(event.data)
for f in files:
if os.path.isfile(f) and f not in video_list:
video_list.append(f)
ui_queue.put((“add”, f))
app.drop_target_register(DND_FILES)
app.dnd_bind(“<>“, drop)
▶ Final Step — Start the App
app.mainloop()
🎉 You Built a Professional Video Cutter!
You now have:
Drag & drop support
Batch trimming
Live preview
Pause / Stop
Real-time progress
Error logging
Multi-format export
🚀 Want the Full Production Version?
Download the EXE here:
https://github.com/rogers-cyber/QuickVideoCutter/releases
Or clone the source:
git clone https://github.com/rogers-cyber/QuickVideoCutter.git
👨💻 Final Thoughts
This project teaches:
GUI architecture
FFmpeg integration
Thread-safe design
Background processing
Real-world desktop app structure
Perfect for:
Python beginners moving into GUI
Developers building desktop tools
Content creators automating workflows
If you enjoyed this tutorial, consider ⭐ starring the repo.
Happy coding!