This guide will walk through the steps of setting up a load balancer for Cloud Run instances in GCP. As well as the other features a load balancer offers, primarily our outcome will be a static outbound IP which we can then use in a DNS service of choice to configure a custom domain.
Some other articles of mine that may be of interest:
- How to Set Up a Static Backend IP for Cloud Run Revision using VPC Connector
- Using GCP Load Balancer to Handle 301 Redirects to Other Domains
Let’s get started!
Prerequisities
- You should already have a Cloud Run instance deployed
Creating a Load Balanacer
This will roughly follow the guide as per Set up a classic Application Load Balancer in the docs.
Step 1: Create a new load balancer, choosing the following:
- Application Load Balanacer (HTTP/HTTPS)
- Public facing (external)
- Best for global workloads
- Global external Application Load Balancer

Step 2: Frontend Configuration
First, we need to reserve a static IP by clicking “Create IP address”

Keep the IP version as IPv4, keep the port as 443 (important for Cloud run!), and be sure to choose an active certificate. We will keep the “additional certificates” as GCP default.
Step 2: Backend Configuration
When creating the backend configuration, set the backend type as “Serverless network endpoint group”. This then gives us the option to Add a backend and Create a new Serverless network endpoint group.

In Create Serverless network endpoint group, this is where you will select your Cloud Run instance which will receive all the traffic from the load balancer

If you intend to use your load balancer to disperse traffic over multiple backend services, this is where you can add these and later set routing rules to control which requests go to each.
In the meantime, we can leave everything else as the default options. Note that another thing you can do at this point is create a custom Cloud Armour policy for purposes such as IP whitelisting.
Step 3: Routing Rules
If you are only using the load balancer for a custom domain, then we can leave Routing rules as Simple host and path rule. If you set up multiple backend services in the previous step, this is where you can configure the routing for these.
Step 4: Review & Finalise
Finally, we review & finalise, and your options should look similar to mine in the image below:

Step 5: Public IP
Once the load balancer creation finished loading, you can then click on it’s details to reveal the public IP.

Step 6: Custom Domain in DNS Provider
You can now use this IP in your DNS provider of choice to configure a custom domain.
And done!
Now all traffic to your custom domain will be received by the load balancer, and then routed accordingly as per the routing rules you set to your backend Cloud Run service(s)!

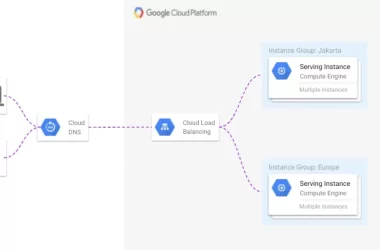
Image source: Google Cloud


