
TL;DR
This guide shows you how to build a web app in Go that uses ElevenLabs generative voice AI to create lifelike speech from text. You can then deploy it to the cloud using Encore‘s free development cloud.
🚀 What we’re doing:
- Install Encore & create an empty app
- Download the ElevenLabs Encore package
- Run the backend locally
- Create a simple frontend
- Deploy to the cloud
💽 Install Encore
Install the Encore CLI to run your local environment:
-
macOS:
brew install encoredev/tap/encore -
Linux:
curl -L https://encore.dev/install.sh | bash -
Windows:
iwr https://encore.dev/install.ps1 | iex
🛠 Create your app
Create a new Encore application with this command and select the Empty app starter:
encore app create
💾 Download the ElevenLabs package
- Download the
elevenlabspackage directory fromhttps://github.com/encoredev/examples/tree/main/bits/elevenlabsand add it to the app directory you just created. - Sync your project dependencies by running
go mod tidy. (Note: This requires that you have Go 1.21, or later, installed.)
Get your ElevenLabs API Key
You’ll need an API key from ElevenLabs to use this package. You can get one by signing up for a free account at https://elevenlabs.io.
Once you have the API key, save it as a secret using Encore’s secret manager with the name ElevenLabsAPIKey, by running:
encore secret set --type dev,prod,local,pr ElevenLabsAPIKey
🏁 Run your app locally
Start your application locally by running:
encore run
You can now open Encore’s local development dashboard at http://localhost:9400 to see your app’s API documentation, call the API using the API explorer and view traces, and more.
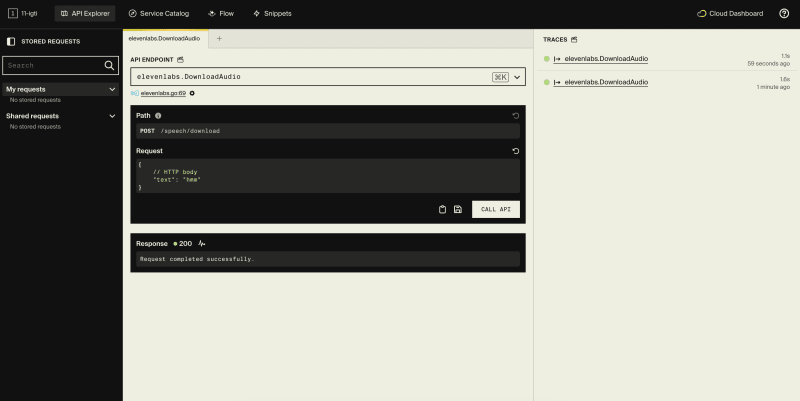
🧐 Try out the API
Now let’s play around a bit with our shiny new API!
From the API Explorer in the local development dashboard, try calling the elevenlabs.DownloadAudio endpoint with the text input of your choice in the request body.

This will use the API to generate an MP3 audio file and download it to your app root folder: speech.mp3.
API Endpoints
Now that we know it works, let’s review the API endpoints in the elevenlabs package.
- elevenlabs.ServeAudio: ServeAudio generates audio from text and serves it as mpeg to the client.
- elevenlabs.StreamAudio: StreamAudio generates audio from text and streams it as mpeg to the client.
- elevenlabs.DownloadAudio: DownloadAudio generates audio from text and saves the audio file as mp3 to disk.
🖼 Create a simple frontend
Now let’s make our app more user-friendly by adding a simple frontend.
- Create a subfolder in your app root called
frontend. - Inside
/frontend, createfrontend.goand paste the following code into it:
package frontend

import (
    "embed"
    "net/http"
)

var (
    //go:embed index.html
    dist embed.FS

    handler = http.StripPrefix("https://dev.to/frontend/", http.FileServer(http.FS(dist)))
)

// Serve serves the frontend for development.
// For production use we recommend deploying the frontend
// using Vercel, Netlify, or similar.
//
//encore:api public raw path=/frontend/*path
func Serve(w http.ResponseWriter, req *http.Request) {
    handler.ServeHTTP(w, req)
}
- Inside
/frontend, createindex.htmland paste the following code into it:
lang="en">
charset="UTF-8">
name="viewport"
content="width=device-width, user-scalable=no, initial-scale=1.0, maximum-scale=1.0, minimum-scale=1.0">
http-equiv="X-UA-Compatible" content="ie=edge">
</span>AI Speech Generator<span class="nt">
Encore + ElevenLabs AI Speech Generator
id="text-to-speech" cols="40" rows="5">Hello dear, this is your computer speaking.
id="speak-button">Say it!